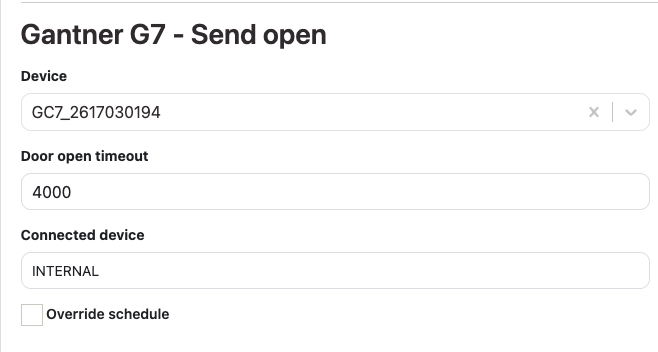
In Wondr you control when the door is open, when it can be unlocked and when it is locked by using a schedule. When you need to deviate from the schedule, you use the control.
Find the Gantner settings
Go to Settings → Permissions → Passage → Gantner.
- Devices – your Gantner devices. The Schedule column shows which schedule each device uses.
- Schedules – your schedules, for example "Opening hours".
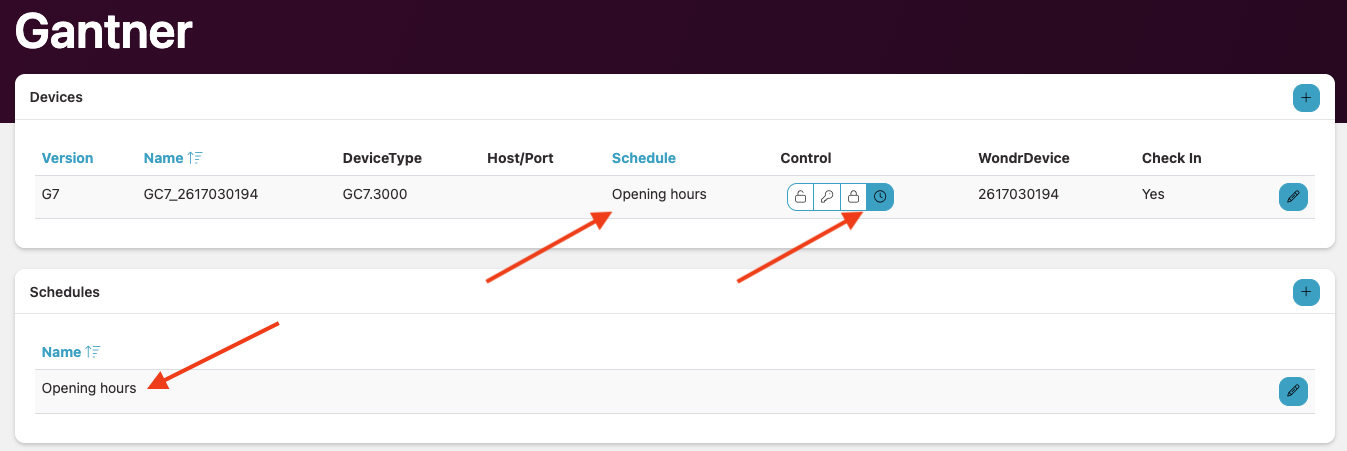
Edit the schedule
Click the pencil next to the schedule (e.g. "Opening hours") under Schedules. Here you can see how the schedule is set up and change the times yourself.
Settings
- Mode used when no time interval matches: This applies to all times outside your intervals. We recommend "Completely locked", so the door is locked outside opening hours.
- How to search for the correct time: "Use first match" means the first interval in the list that matches the current time is used. If intervals overlap, the order matters. You can reorder them with the up and down arrows.
Time intervals per weekday
Each weekday has one or more rows with a start time, an end time and a mode. Use Add time interval to add a row and the trash can to remove one.
The three modes:
- Can be unlocked – the door is locked but opens for members with valid access.
- Unlocked – the door is open to everyone.
- Locked – the door cannot be opened.
Example: door open during staffed hours
| Time | Mode |
|---|---|
| 05:00–07:59 | Can be unlocked |
| 08:00–16:59 | Unlocked |
| 17:00–22:59 | Can be unlocked |
Outside 05:00–22:59, "Completely locked" applies.
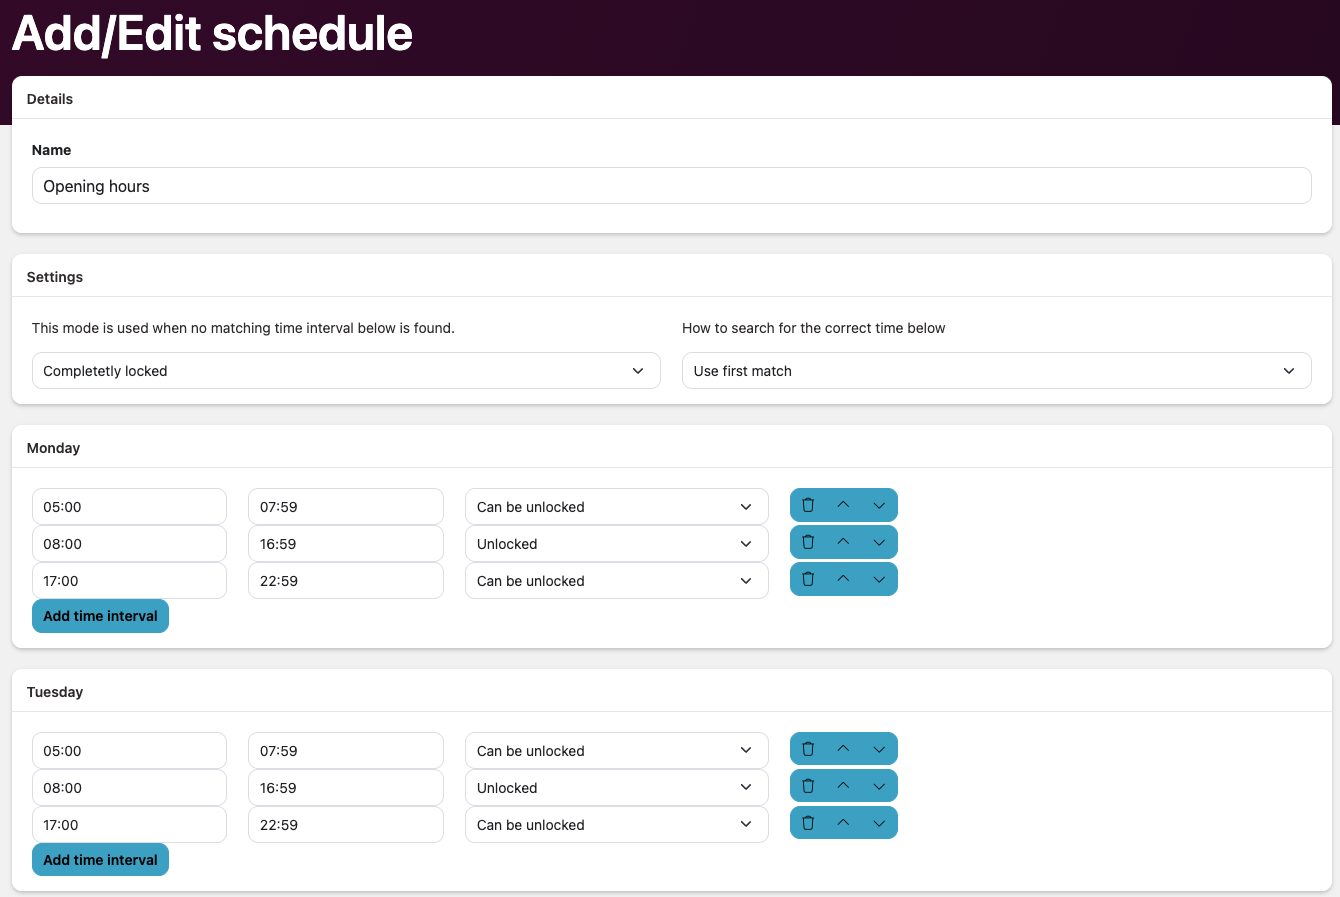
Note: End each interval one minute before the next one starts (e.g. 07:59 and then 08:00) so they don't overlap. Remember to save.
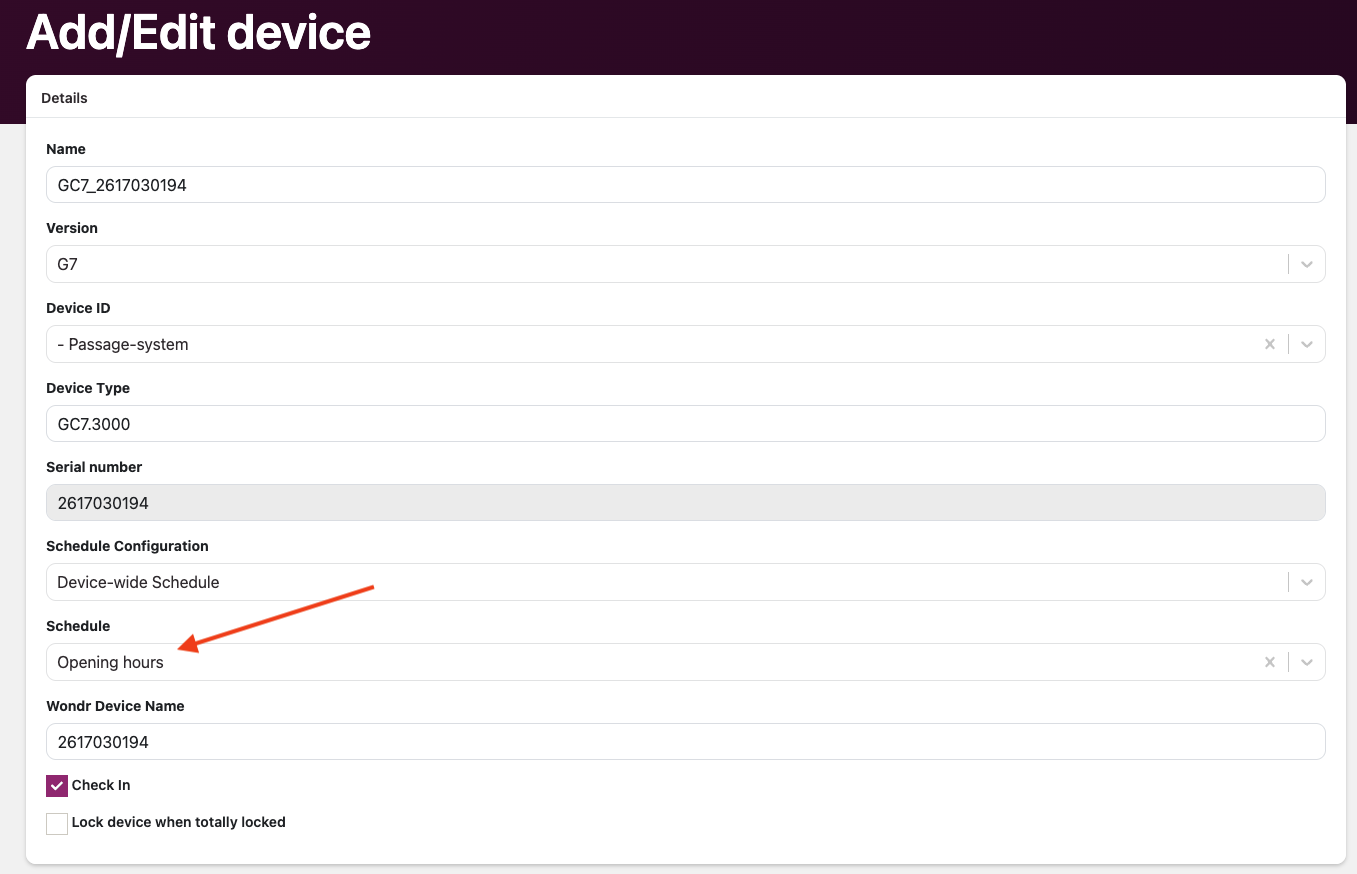
Link the schedule to the right Gantner device
Don't forget this step! Edit one or more devices by clicking the pencil next to the device under Devices. Then select the opening-hours schedule you created in the previous step under Schedule, and save.
Override the schedule with the control
If you need to deviate from the schedule, for example for an event or an urgent closure, use the control. Go to Settings → Permissions → Passage → Gantner. The control is in the Control column for each device under Devices. Hover over a button to see what it does.
| Button | Meaning |
|---|---|
| Open padlock | Unlocked – the door stays open until you change it |
| Key | Can be unlocked – the door opens for members with valid access |
| Closed padlock | Locked – the door is locked for everyone |
| Clock | Use schedule – the door follows the schedule again |
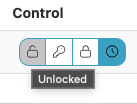
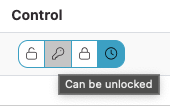
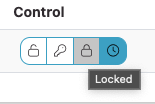
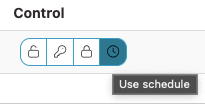
Important: When you select Unlocked, Can be unlocked or Locked, the door stays in that mode until you change it. Remember to click the clock (Use schedule) to return to the schedule. The highlighted button shows the mode that applies right now.
Existing customers only: let staff open the door outside the schedule
New customer? Skip this step. Your admin/staff button is already set up so it can open the door outside the schedule.
If you were already using Gantner before you added a schedule, you need to update the admin/staff button so staff can still open the door outside the schedule:
- Go to Settings → Smart rules.
- Click the pencil next to the door-opening button for admin/staff.
- Scroll down to the action Gantner G7 - Send open and tick Override schedule.
- Click Update to save the rule.